Workflow: a dealer (trade) order through the Dealer Portal
Set up the portal and a dealer once; then each dealer order arrives on the Orders desk, is picked and sent like any other, and is paid by card, on account or by transfer.
Where it is
Settings for this
- Dealer Portal → Setup — Every portal setting
- Setup → Orders & invoicing — What a dealer order becomes, limits, delivery, payment
- Setup → Pricing tiers — How dealers are priced
Dealers and trade customers order from your catalogue at their price. Each step has a button to the page where you do it and a link to its full guide. In BuildTrack's Help panel, when a button takes you to a page, Back to the guide (bottom right of the screen) brings you straight back here.
1. Set up the portal once
- Your brand and web address: Theme and domain.
- How dealers are priced: Dealer pricing.
- What they can see: Guardrails and hidden items and The storefront.
- How checkout works (order becomes a sales order or a draft invoice, limits, delivery, card or on account): Dealer checkout rules.
- The map of every Setup screen: Setting up the Dealer Portal. The Dealer portal course walks through going live.
2. Add a dealer and invite them
Make the CRM company a dealer, set its tier, terms and credit, and invite its people. See Adding dealers. Dealers can also apply: "Become a dealer" applications. What they'll see: What your dealers see.
3. The order arrives
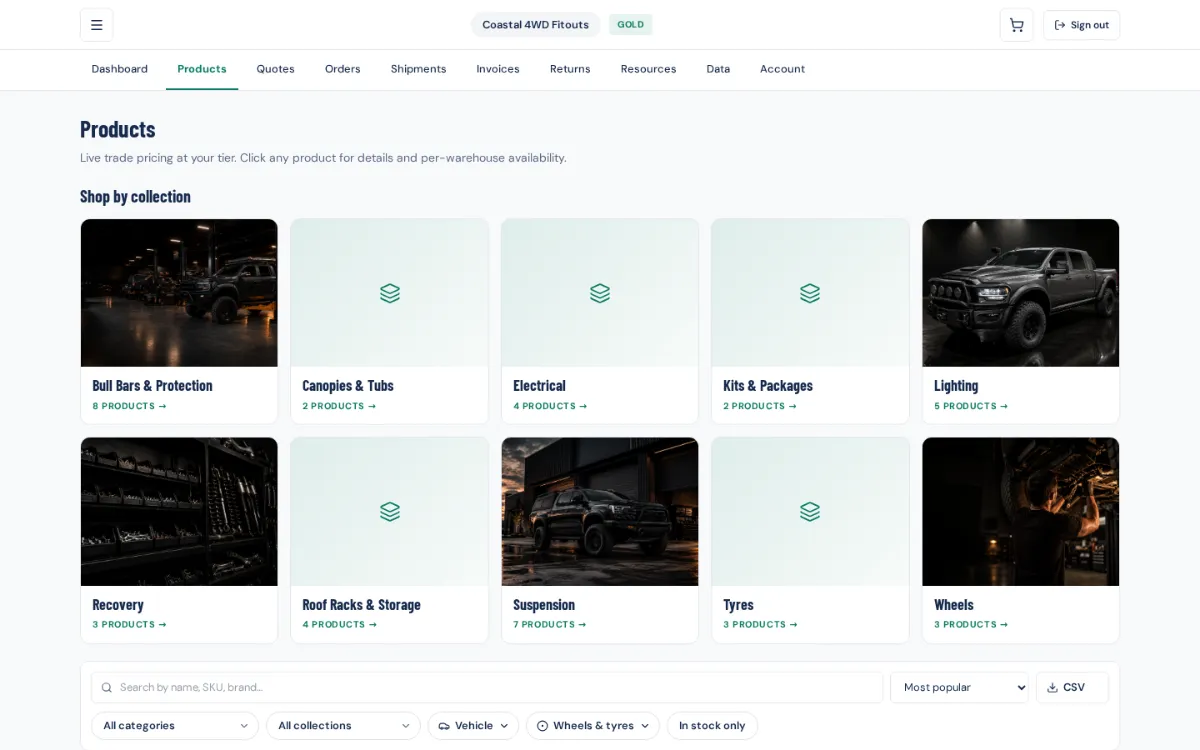
It lands on the Orders desk under the Dealer channel as a sales order. Quote requests wait for your prices. See Dealer orders, quote requests and returns and The Orders desk.
4. Fill it
From here it's an ordinary order: hold the stock, invoice it, pick, pack and send. See steps 2 to 5 of a parts order.
5. Get paid
By card at checkout, on account (with statements and reminders), or by bank transfer. See Take and record payments.
6. Returns and warranty
Dealers lodge them in the portal; you work them through to a credit note. See Dealer returns and warranty requests.